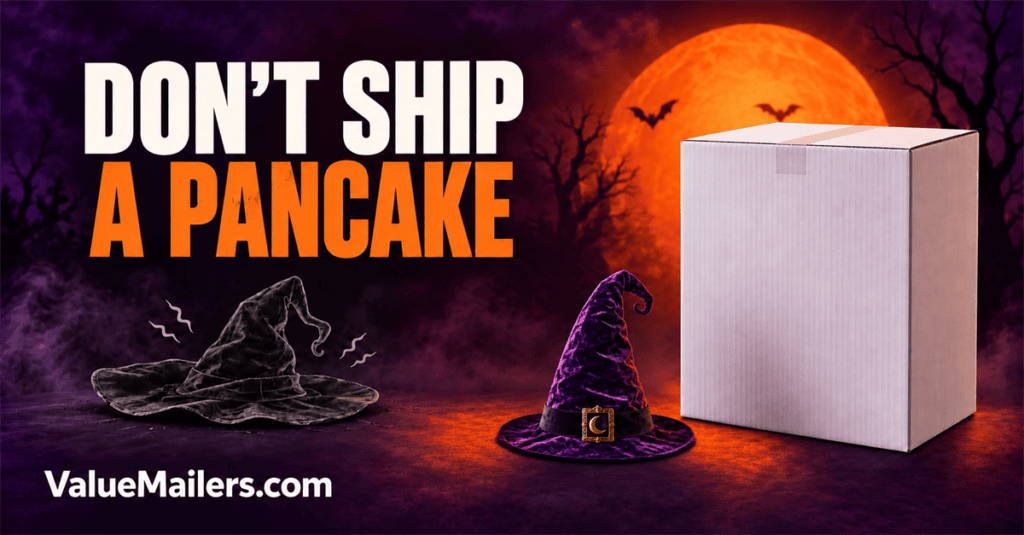
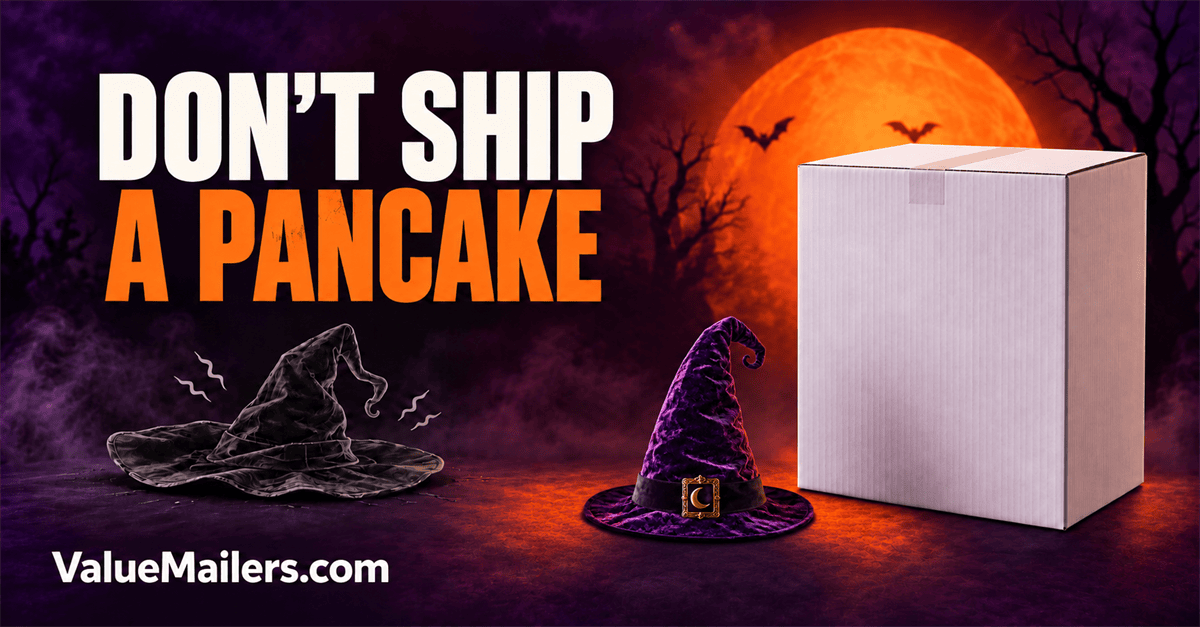
A witch hat can survive the trip and still arrive ruined. No tear. No missing piece. Just a bent brim and a crown that refuses to stand. Good Halloween costume packaging protects the shape that makes the product worth buying.
That calls for a different question at the packing station. Instead of asking, “Will it fit in this bag?” ask, “What must still look the same when the customer opens it?”
For costume accessories, the answer might be a curved mask, a feather, a pointed crown or a carefully formed bow. Start there. Then build the package around those features.
Start Halloween costume packaging with a shape check
Not every costume item needs the same treatment. A soft fabric cape may fold neatly. A molded mask may lose its shape under pressure. A decorated hat can combine flexible fabric with a stiff brim and fragile trim.
Look at the complete item before choosing packaging. First, identify the parts that can fold, the parts that can bend and the parts that must hold their position. Follow the maker’s packing and care instructions where available.
Next, check attachments. A plastic gem, wire, ribbon or decorative branch may catch on another part of the same product. Therefore, keep loose accessories from scratching their neighbors.
This quick shape check gives the packer a clear plan. It also prevents the common mistake of treating everything soft-looking as suitable for a flexible mailer.
Give Halloween costume packaging a support plan
A box provides an outer structure. However, empty space inside it can still let the item shift or collapse. In other words, the inner support needs to suit the product.
For a hat, consider a clean, smooth support that helps the crown hold its normal shape without stretching it. Keep the brim flat or curved as the design requires. Instead, choose a carton that fits the brim without forcing it into a smaller footprint.
For a molded mask, support the intended form without pushing outward on thin sections. Protect projecting noses, horns and edges from direct contact with the carton. Meanwhile, keep straps and fasteners from rubbing the painted surface.
For suitable accessories, white corrugated boxes provide a structured starting point. Choose the internal dimensions around the supported product, not the product squeezed into its smallest possible shape.
Cushioning is not a substitute for structure
Bubble material can separate surfaces and cushion contact. However, it does not automatically hold a wide brim flat or stop a tall crown from folding.
Think of two separate jobs: support the shape, then protect the surface. A smooth, compatible first layer may be needed on painted, printed or delicate finishes. Test the materials against the actual finish before using them across an order run.
Bubble Pouches can help keep appropriate small accessories apart. Use them where the item and its finish suit the material. Instead, choose a pouch that leaves room around fragile details.
Likewise, Bubble out bags may suit selected wrapped components. Check fit and closure, and add structural support separately wherever shape matters.
Choose Halloween costume packaging by shape
The right outer package depends on how the item responds to bending and pressure. Use this comparison as a starting point for a product-specific packing check.
| Costume item | What needs attention | Packing approach to evaluate |
|---|---|---|
| Pointed or decorated hat | Crown, brim and attached trim | A correctly sized box with support that preserves the intended shape |
| Molded mask | Curves, projecting details and finish | Supported placement, surface separation and room around projections |
| Flexible, flat accessory | Snags, exposed hardware and acceptable folding | A suitable mailer only when the complete item can tolerate that packing method |
Bubble Mailers may work for suitable flat, flexible pieces that do not need a rigid outer structure. However, they are not the default choice for every lightweight costume accessory.
For compact Halloween costume packaging, evaluate white corrugated mailer boxes. Check the actual usable space with the support, protective layers and every included part in place.
Keep small parts with the costume, not inside its folds
A customer should not have to shake out a hat to find the matching clip. Separate detachable parts into a clearly identified inner package that cannot move into a fragile area.
List the included pieces on the packing check. For example, record the hat, detachable bow and fastening clip as separate components. Then confirm that each one is present before closing the outer box.
Also, keep any supplied warnings and care instructions with the product. Also make removal simple. The customer should not need to pull hard on trim to free it from the packaging.
A short note can explain which material is protective support and which pieces belong to the costume. Clear instructions matter especially when a support is hidden inside a crown or behind a mask.
Write down the shape, not just the product name
“Black witch hat” is not a complete packing instruction. Two hats with the same color and size label can need different support because their brims, trim or internal frames differ.
Add a short shape profile to the packing guide. Record the item’s natural height, the widest part and any projecting details. Note the intended position inside the carton. Then record the finished packout dimensions rather than relying on an empty box measurement.
For a product with detachable decorations, state whether removal is part of the approved packing method. Do not bend, detach or flatten something simply because it makes packing easier. Confirm the method with the product information first.
This profile helps a new packer spot a mismatch before sealing. It also gives the team a useful reference when a supplier changes the product or its trim.
Close the box without negotiating with it
If the lid needs a hard push, stop and reassess. Closing pressure can become constant pressure on the item throughout the trip. Instead, try a larger carton or a different support layout.
For taller shapes, compare the appropriate sizes of white corrugated shipping boxes. Avoid both a tight squeeze and a large empty cavity. The goal is enough space for the supported item and the protection it needs.
Before sealing, gently check whether the packed item shifts when you change the box’s position. However, this is a basic fit check, not a substitute for shipping tests. Use representative samples to evaluate your full packing method before relying on it for a busy seasonal run.
Make Halloween costume packaging repeatable
The USPS package-preparation guide recommends strong packaging that does not bulge. Use that baseline alongside the shape-specific supports your hat or mask requires.
Once you choose a workable method, document it with a real packing-station photo and a short checklist. Show the support location, accessory placement and carton size. Include any product-specific handling instructions.
Then let another packer follow the instructions. If they must guess how tightly to fill the crown or where to place a strap, make the instructions clearer.
Halloween costume packaging should preserve the product’s personality, not reshape it. Build around the brim, crown, curves and details. A witch hat should arrive ready for its entrance—not looking like it has already met the broom.