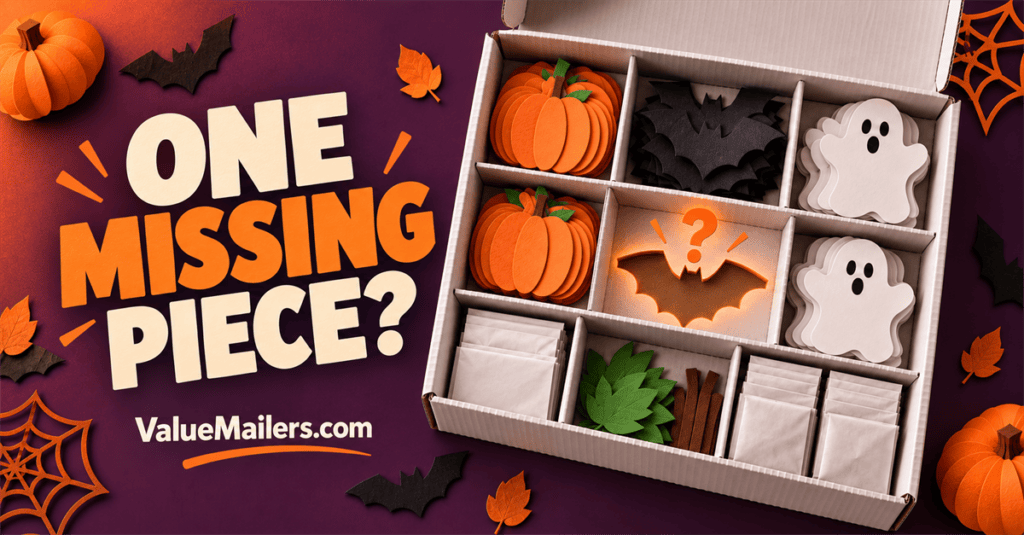
The pumpkin has a face. The ghost has a ribbon. The bat has one wing. A beautiful Halloween craft kit can still disappoint when one small part goes missing. Good Halloween craft kit packaging keeps the entire project together, not just the largest pieces.
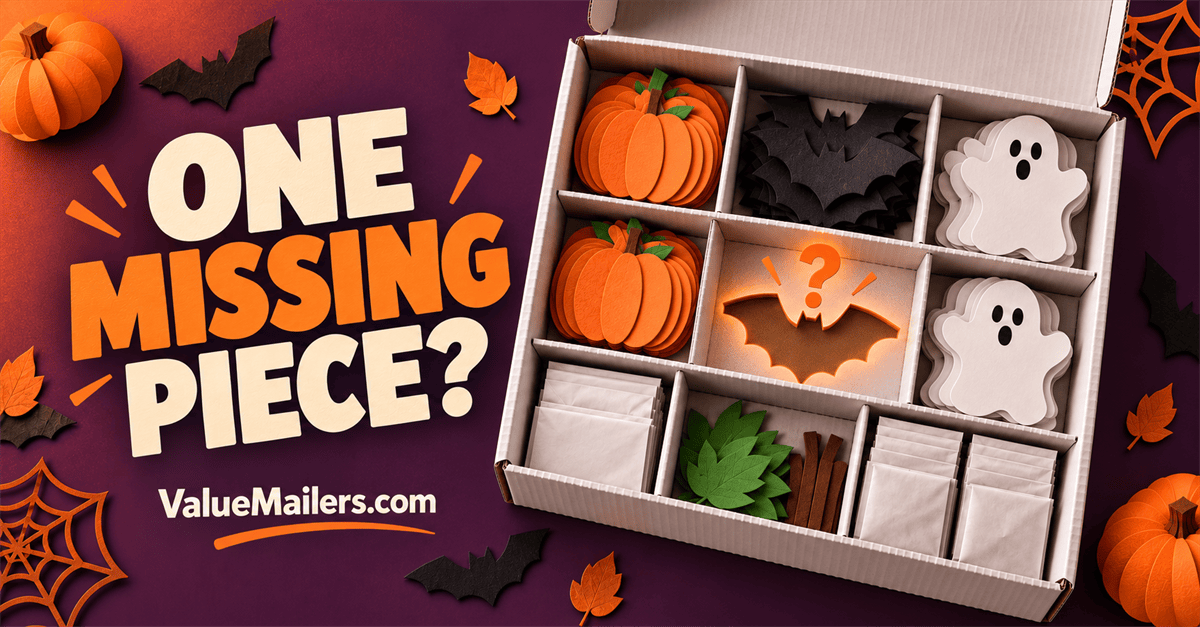
Picture the moment your customer opens the box. They have cleared the table, set aside time, and invited someone to join them. Now they need to recognize the parts and start making something. Searching through loose paper scraps for one tiny connector is not the experience they bought.
The goal is simple: make the kit feel complete before assembly starts. You can do that with a clear component map, sensible grouping, and one repeatable packing sequence.
Pack a project, not a handful of supplies
A kit is more than the sum of its parts. Some pieces depend on others. A hanging ghost needs its body, decoration, and hanging material. A paper pumpkin may need several matching panels. Leave out one component and the customer cannot finish the version shown on the listing.
Start by assembling one example from the exact contents you sell. Follow the customer instructions instead of relying on memory. Record every supplied piece, including the small items that seem too obvious to mention.
Also identify anything the customer must provide. If the project needs an everyday tool or another supply that is not included, say so clearly in the listing and instructions. Packaging should not hide that distinction.
Build a component map for Halloween craft kit packaging
A component map makes Halloween craft kit packaging easier to repeat. “Decorations” is too broad if it covers three different shapes. Use a name, a quantity, and a clear place in the package for each component.
A small photo or outline drawing can help distinguish similar pieces. However, a picture should support the count rather than replace it. Ten black paper shapes may look like one neat stack from above.
| Component group | What to record | How to keep it recognizable |
|---|---|---|
| Large bases or panels | Shape, color, and exact count | Stack matching pieces together with support where needed |
| Small decorative pieces | Each distinct shape and quantity | Contain them in a labeled inner packet |
| Ribbon or hanging material | Quantity and supplied length | Keep it separate from loose embellishments |
| Instructions | Correct project and version | Place them where the customer sees them first |
This is a planning example, not a universal kit specification. Replace every group with the real contents of your product. If you sell several versions, give each version its own map.
Give the smallest pieces a home
Loose components can slide under a box flap or disappear into packing material. Instead, give each small group a defined container. The customer should not need to shake out every sheet of cushioning to find the last piece.
Keep the packet closure secure and the contents easy to identify. Place a simple count label on the packet when that helps. Avoid decorative fillers that look similar to the actual components; black paper confetti can make black paper details difficult to spot.
For an included delicate ornament or a finished embellishment, consider appropriately sized Bubble Pouches. Match the protection to the item. Cushioning is not a substitute for a closed packet when your main problem is tiny loose parts.
Separate materials that do not travel well together
Cardstock, cord, painted pieces, and other supplies behave differently inside a carton. A firm component can press a mark into a softer one. Loose strands can tangle around a shaped cutout. Therefore, grouping everything into one bag may create extra work for the buyer.
Keep flat pieces supported. Coil ribbon neatly without crushing it into fragile shapes. If a supplied component has a finish that may transfer, use a suitable barrier and check compatibility with the actual material.
You can use Bubble out bags around suitable delicate components that need cushioning. Keep those protected components separate from the flat project panels. No single bag solves every material problem.
Choose Halloween craft kit packaging after grouping the parts
Lay out the complete packed kit before choosing the carton. Measure the organized contents, including their protective layers. A box that fits only the loose supplies may become too tight once you add support and separate packets.
For a compact project, white corrugated mailer boxes can give the inner groups a defined space. Compare the usable internal dimensions with your finished kit. The lid should close without pressing on a component.
For several individual kits traveling in one order, review suitable white corrugated shipping boxes. Keep each kit complete inside that outer carton. Do not combine every order’s components into shared piles unless the customer specifically expects a bulk supply pack.
Flexible, non-crush-sensitive contents may suit Bubble Mailers. However, paper panels and delicate shaped pieces often need rigid support that a padded envelope alone does not provide.
Make the first layer the starting point
Pack in the reverse of the intended opening sequence. Put the first thing the customer needs near the top. Usually, that means a component guide and instructions before the smaller packets.
Label groups by assembly step when that makes the project easier to follow. “Step 1: pumpkin panels” tells the buyer more than “Bag A.” Keep the names consistent across the packet, checklist, and instruction sheet.
If your product range uses several sizes of white corrugated boxes, photograph the approved layout for each size. This helps your packing team place the groups consistently without inventing a new arrangement for every order.
Check Halloween craft kit packaging before sealing
Count components before closing their inner packets. Then check that every required packet and larger part is present before sealing the outer package. These are two different checks: a complete packet does not mean the complete kit is in the carton.
For multi-kit orders, count finished kits as well. Keep incomplete work apart from ready-to-ship kits. A partially assembled package should never look identical to one that has passed your final check.
Finally, open a sample pack using the customer instructions. Can you identify each group without guessing? Can you remove the contents without scattering them? Adjust the layout when the answer is no.
Keep the surprise in the finished project
Use the USPS package-preparation guide for general outer-package basics. Then add your component map and count checks. A strong carton and a complete kit solve different parts of the customer experience.
Halloween craft kit packaging can deliver plenty of surprise through color, character, and creativity. Its contents should not be a mystery. Clear grouping helps customers spend their time making the project instead of sorting out what arrived.
Before your next batch, choose the smallest essential component and trace its path from the supply bin to the customer’s table. Give it a count, a container, and a place on the checklist. That tiny detail may be the piece that lets craft night begin.