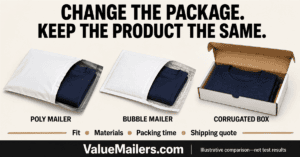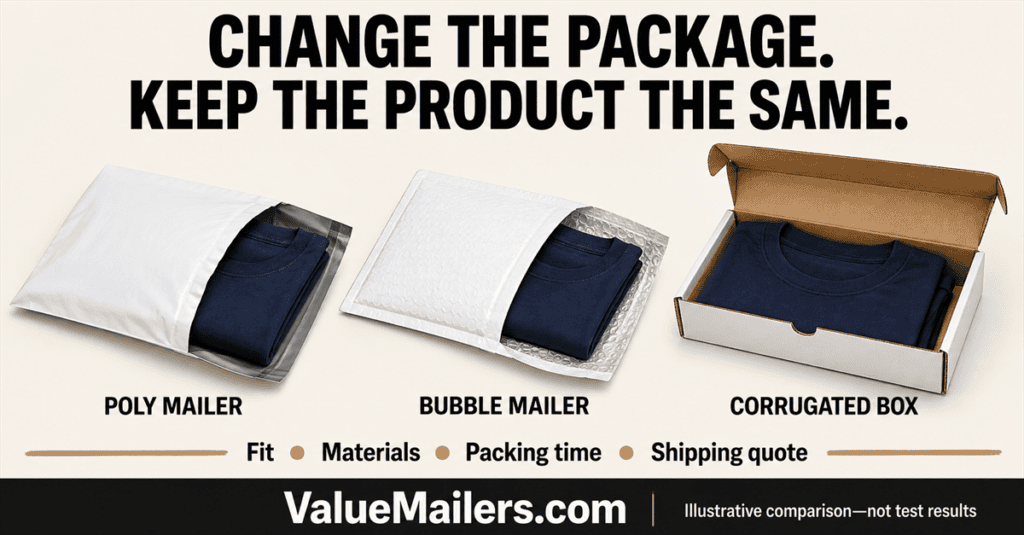
A useful packaging comparison starts with one unchanged product and three complete, ready-to-ship parcels. Check fit first, time the full packing task, then compare shipping quotes using the same shipment details. The lowest bag or box price alone cannot tell you which option belongs in your workflow.
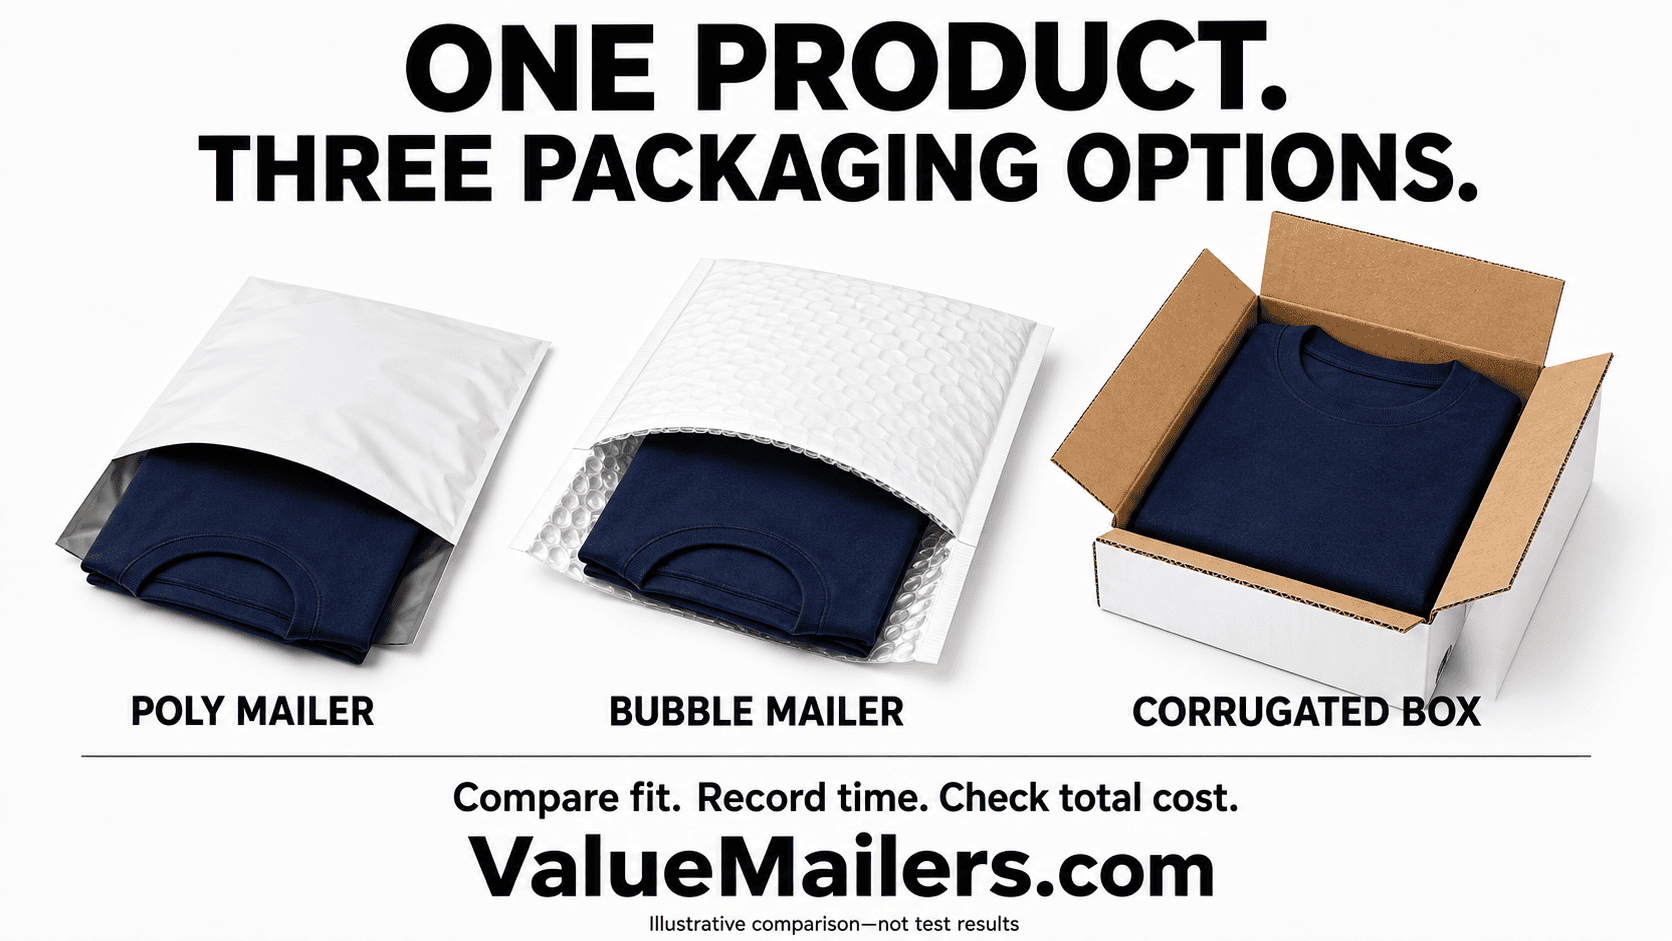
For this guide, the product is one plain folded T-shirt. The candidates are an unpadded poly mailer, a bubble mailer and a corrugated box. The steps below let you run the comparison at your own packing station.
Important: This is a reader-run comparison method, not a report of a ValueMailers physical test. The artwork is AI-created. No packing times, dimensions, carrier quotes, damage rates or savings were measured for this article. Any numerical example below uses clearly identified assumptions.
Start your packaging comparison with one suitable product
Choose one shirt SKU and size. Use the same fold, garment condition, inner protection and insert for each candidate. A larger shirt, different fabric or added gift box changes the job, so it needs its own comparison.
A plain, flexible T-shirt makes a useful starting point because it has no rigid decorations or fragile accessories. FedEx identifies a poly mailer as an option for one or two small casual garments in its clothing-shipping guide. That advice does not mean every garment belongs in a flexible bag.
For example, formal clothing, delicate fabrics and decorated garments may need different preparation and structural protection. Use our clothing packaging guide for that broader selection decision. Here, the question is narrower: how do three complete packing systems handle the same plain shirt?
Prepare several matching shirts if available. Otherwise, reuse one shirt only while it remains unchanged, and restore the same fold between runs. Use fresh outer packaging and fresh closures when timing a completed parcel. Reusing a previously assembled or opened package can distort the work being compared.
Choose three candidates that can actually fit
Start with one plausible size in each format. Do not choose an oversized box or a mailer that barely closes just to create a dramatic contrast. Check usable internal space, closure clearance and the supplier’s specifications before buying a larger quantity.
Candidate A: an unpadded poly mailer
Poly Mailers are the flexible, unpadded candidate. The shirt should slide in without excessive compression, stressed seams or a strained closure. Check whether the filled bag leaves a usable, reasonably flat label area.
Keep your inner garment protection consistent. The UPS clothing guide describes placing a folded new shirt in an inner plastic bag before using a poly mailer. Include the appropriate inner bag in all three candidates if that is your chosen preparation standard.
Candidate B: a bubble mailer
Bubble Mailers add a cushioning layer. For a plain shirt, do not assume that layer provides a useful benefit simply because it is present. Record whether it changes the usable fit, handling steps, finished thickness or presentation.
Padding also does not make a flexible envelope equivalent to a rigid box. If your product needs structural protection, evaluate that need separately. This comparison should not award points for cushioning that the product does not require.
Candidate C: a corrugated box
Choose an appropriately sized option from White Corrugated Boxes. Keep the garment presentation consistent and record any additional fill or closure materials the box actually needs.
You can examine White Corrugated Mailer Boxes for a compact presentation or White Corrugated Shipping Boxes for another carton format. Select one specific box for this trial. Style, dimensions, board specifications and closure matter; white color alone does not establish strength.
Set the rules before starting the timer
Write your start and stop points before the first run. One useful setup begins with a folded, unbagged shirt, an insert and unused materials in marked positions. Stop when the garment is protected, the outer pack is assembled and sealed, and a prepared sample label is applied.
Use a clearly marked sample label, not a purchased shipping label, for a bench-only exercise. If printing and checking labels are part of the process you want to study, include those steps for every candidate instead. Never time label work for only one option.
| Keep the same | Allow to change | Record each time |
|---|---|---|
| Shirt SKU, size, fold, inner garment protection and insert | Outer package and the closure or fill it actually needs | All materials used, including mistakes and rework |
| Packing station, starting position and timer boundaries | Handling steps needed for each candidate | Seconds from the defined start to the finished parcel |
| Origin, destination, service, ship date and rate source | Sealed package dimensions and weight | Quote, included charges, date and assumptions |
Use the same packer for all three candidates, or record each operator separately. Keep materials equally accessible. Otherwise, you may be measuring a long reach across the bench rather than the package itself. If one option needs tape or fill, include the time to use it. Do not remove a necessary step to make a candidate look faster.
Next, practice each format before recording runs. Rotate the order: poly, bubble, box for one round; bubble, box, poly for the next. Several repeats can reveal obvious variation, but a small trial is not a statistically reliable promise of future speed.
Check fit before comparing speed
Pack and seal each candidate. Inspect the closure, seams, corners and label area. Reject a setup that strains the bag, leaves an unreliable seal or damages the shirt’s presentation. A fast pack that fails your requirements is not a useful finalist.
Then open a sample and inspect the shirt. Did it retain an acceptable fold? Did loading or closure catch the fabric? If presentation matters to your customers, define that requirement before you judge the samples.
This is a bench check, not proof of transit performance. It cannot establish a damage rate, waterproof performance or carrier acceptance for every service. Keep unresolved protection questions visible instead of entering a convenient zero in the worksheet.
If all three fail, change the candidate sizes or preparation and repeat the affected runs. Record that revision so you do not mix results from different setups.
Measure the finished parcel and request matched quotes
Weigh each fully prepared parcel on a suitable scale. Measure the sealed outer package, including bulges, rather than copying the empty mailer’s listed dimensions. Keep the units consistent and record the readings before applying the selected carrier’s rounding rules.
UPS’s current package measurement guide explains measurement at extreme points for irregular parcels and rounding dimensions up. Follow the requirements for your selected service and quote tool. Do not apply one dimensional-weight divisor to every carrier, service or account.
For background on why package size can change the bill, see how shipping box size affects dimensional weight. This step is about your actual finished parcel, not an assumed box-size example.
Now compare the same origin, destination, service, ship date, rate source and relevant delivery options. Change only the package-related inputs. The UPS rate guide identifies shipment details such as origin, destination, service and weight as pricing inputs.
Save each quote with its assumptions and included charges. A quote is not a guarantee of the final invoice. If you serve several common destinations, repeat the matched comparison for each; one destination cannot represent your whole customer base.
Turn your packaging comparison into useful numbers
Record every timed run, including errors and rework. Show the median and range alongside the individual times. The median is the middle result after sorting the times; the range shows the shortest and longest. With an even number of runs, average the two middle times for the median.
For an average cost estimate, use total observed packing time, including errors and rework, divided by completed parcels. Keep the median as a separate description of a typical run. Next, calculate direct packing labor: seconds divided by 3,600, multiplied by your hourly labor-cost input. Use a consistent rate that reflects the costs you intend to compare. Owner time still has value even when no separate paycheck is issued for that task.
For materials, count the complete pack: outer packaging, inner garment bag, insert, label, tape and any needed fill. Use your actual cost basis consistently, including allocated incoming freight where appropriate. Keep unrelated business overhead separate from this narrow comparison.
A hypothetical example—not our test results
The figures below are invented arithmetic inputs, not ValueMailers prices, benchmark times or shipping quotes. Materials include all packaging components. They illustrate how to calculate a partial subtotal, not which format you should buy.
| Assumed input | Poly mailer | Bubble mailer | Corrugated box |
|---|---|---|---|
| Complete materials per parcel | $0.32 | $0.58 | $0.96 |
| Packing time | 30 seconds | 45 seconds | 60 seconds |
| Labor at an assumed $24/hour | $0.20 | $0.30 | $0.40 |
| Materials + direct packing labor | $0.52 | $0.88 | $1.36 |
| Shipping | Enter matched quote | Enter matched quote | Enter matched quote |
| Delivery performance | Not established | Not established | Not established |
For example, 45 seconds divided by 3,600, multiplied by $24, gives $0.30 in direct packing labor. Adding the assumed $0.58 materials produces $0.88 before shipping and other relevant costs. Replace those inputs with your own records.
Do not call the lowest partial subtotal the winner. It excludes postage and does not establish delivery performance. Likewise, a few seconds released from packing do not automatically become cash savings. They may create capacity only if your order volume and workflow can use that time.
Record a decision you can repeat
Use one record per package candidate. Keep photographs from your own trial if useful internally, but the created artwork in this guide is not evidence of fit or performance.
| Field | What to enter |
|---|---|
| Product and package identity | SKU, garment size, fold, package SKU, supplier specification and inner materials |
| Fit and presentation | Pass/reject, closure condition, garment appearance and reason |
| Finished parcel | Measured outer length × width × height and scale weight, with units |
| Repeated timings | Every run, median and range, plus errors or rework |
| Matched shipping quote | Origin/destination, service, date, rate source, dimensions, weight and options |
| Costs and follow-up | Actual materials, direct packing labor, quote, unresolved risks and later delivery feedback |
Choose among candidates that meet your protection and presentation requirements, using complete costs and repeatable handling observations. If an important input is unknown, mark the decision provisional. Monitor actual delivery feedback and packing errors before expanding a change across all orders.
Finally, record the selected package SKU, garment preparation and closure steps in a short packing instruction. Recheck when the product, supplier specification, order quantity or carrier pricing changes. That makes the result useful to another person at the bench.
Apply the method to a different product
Keep the method, but rebuild the protection requirements. For a small component that genuinely needs individual cushioning, Bubble Pouches can be evaluated as an inner layer. If comparing Bubble Out Bags, record the specific product and any additional outer protection needed.
Do not add those materials to a plain-shirt trial just to make the packs look equally padded. Each component should have a purpose. Similarly, a vinyl seller should begin with suitable Record Mailers and record-specific support needs, not transfer a T-shirt packaging decision to records.
A useful packaging comparison produces a documented choice for a defined product and shipping scenario. Start with suitable candidates, measure what actually happens, and leave unsupported savings claims out of the decision.